Tool used for this,is Adobe Photoshop.
Initial picture/image being used :
*click the image to zoom in.
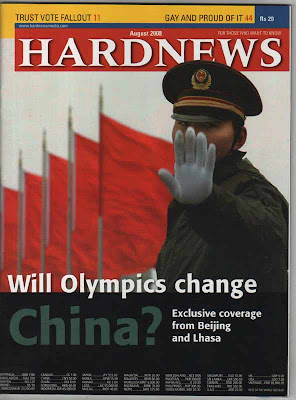
- Step 1 : adjusting the tilt of the image according to the desirability.Also used for selecting the required portion of image i.e. cropping.
*Notice the area as the border around the image ,as its removed in the next image.
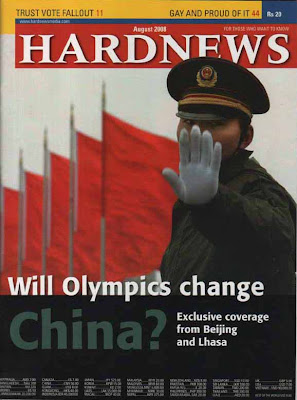
- Step 2: Image Rectification Starts now.Firstly we need to clear the Localized noise.
now set the "radius = 1 " and "threshold = 0 ",and preview the image portion.click "ok" to apply.
you won't notice a great difference but its a necessary step.comparative image would be somewhat like this:
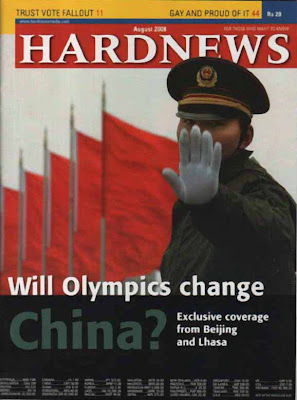
- Step 3:Go to "Filters -> blur -> gaussian blur "
image would be something like this:
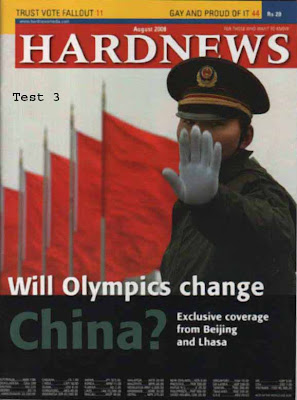
- Step 4: Go to "Filters -> sharpen -> unsharp mask "
keep " radius between 2 to 4 pixels "
keep "threshold =0 "
image is ready for final touch,it should be something like this :
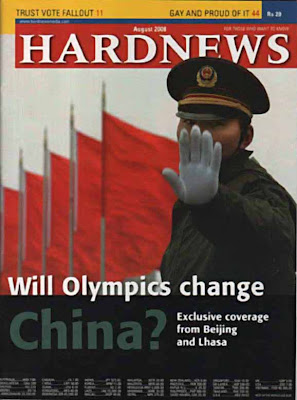
- Step 5:go to "image -> adjustments -> auto contrast "
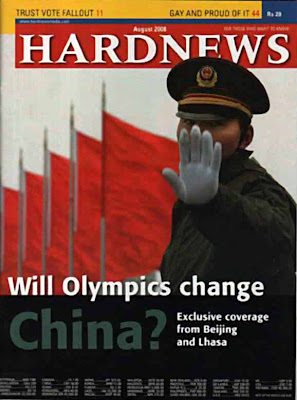 The Results do vary from case to case.Also have used a good scanned copy for example so Differences are not too noticeable ,but it will definitely help you in the time of need.
The Photoshop version used by me is 7.0 and CS2 is said be a better version,so update will come soon,may be with a better example.

No comments:
Post a Comment